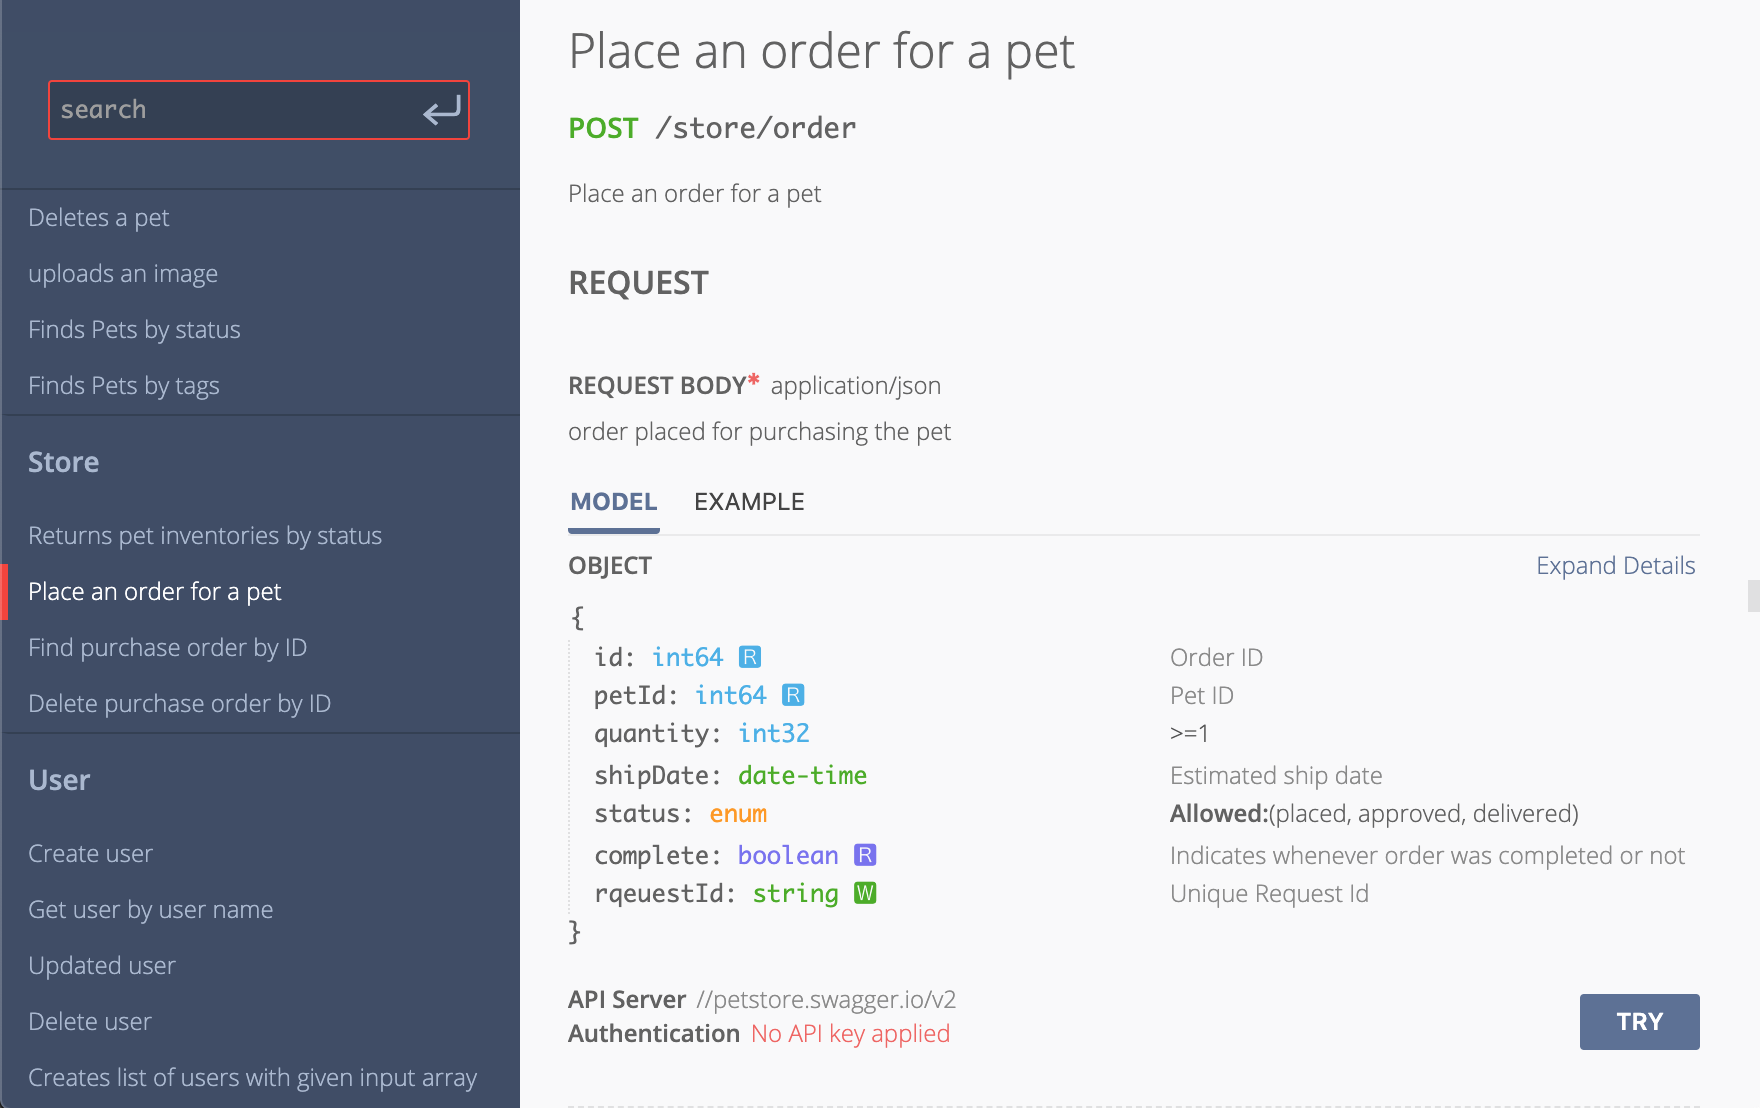
Examples & Demos
Just copy the below code and save it in an html file. Then open it using a browser
        <!doctype html> <!-- Important: must specify -->
        <html>
          <head>
            <meta charset="utf-8"> <!-- Important: rapi-doc uses utf8 characters -->
            <script type="module" src="https://unpkg.com/rapidoc/dist/rapidoc-min.js"></script>
          </head>
          <body>
            <rapi-doc
              spec-url = "https://petstore.swagger.io/v2/swagger.json"
            > </rapi-doc>
          </body>
        </html>
Dark Theme (DEMO)
      <rapi-doc
        spec-url="https://petstore.swagger.io/v2/swagger.json"
        theme = "dark"
      >
      </rapi-doc>
Read Mode (DEMO)
      <rapi-doc
        spec-url="https://petstore.swagger.io/v2/swagger.json"
        render-style = "read"
      >
      </rapi-doc>
Schema Style: Tabular (DEMO)
      <rapi-doc
        spec-url="https://petstore.swagger.io/v2/swagger.json"
        theme = "dark"
        schema-style="table"
      >
      </rapi-doc>
Change Header Color With Dark Theme (DEMO)
      <rapi-doc
        spec-url="https://petstore.swagger.io/v2/swagger.json"
        header-color="#2d87e2"
        theme = "dark"
      >
      </rapi-doc>
Integrate with other HTML document - No <iframe> (DEMO)
      <rapi-doc
        spec-url = "https://petstore.swagger.io/v2/swagger.json"
        theme = 'dark'
        show-header = 'false'
        show-info = 'false'
        allow-authentication ='false'
        allow-server-selection = 'false'
        allow-api-list-style-selection ='false'
        theme = 'dark'
        render-style = "read"
      >
      </rapi-doc>
Change Font (DEMO)
      <head>
        <link href="https://fonts.googleapis.com/css?family=Nunito" rel="stylesheet">
      </head>

      <body>
        <rapi-doc
          spec-url = "https://petstore.swagger.io/v2/swagger.json"
          regular-font = "Nunito"
          render-style = "read"
        >
        </rapi-doc>
      </body>
Change Logo (DEMO)
      <rapi-doc
        spec-url = "https://api.apis.guru/v2/specs/googleapis.com/youtube/v3/openapi.yaml"
        primary-color = "#CC0000"
        render-style = "read"
      >
        <img
          slot="nav-logo"
          src="https://img.icons8.com/color/48/000000/youtube-play.png"
        />
      </rapi-doc>
Add HTML content inside the spec (DEMO)
      <rapi-doc spec-url="https://petstore.swagger.io/v2/swagger.json">

        <!-- content at the top -->
        <p> This is an example of adding external HTML content. </li>
        <p> You may add: </li>
        <ul>
          <li> Tables </li>
          <li> Text </li>
          <li> Images </li>
          <li> Links </li>
          <li> Any HTML content </li>
        </ul>

        <!-- content at the bottom -->
        <p slot="footer"> This content will apear at the bottom </p>

      </rapi-doc>
Mix your own HTML (DEMO)
The below example adds a single click authorization functionality to swagger's petstore spec.
(Look for the blue button and the text-box on the header which is added by the below html)
      <!doctype html>
      <html>
      <head>
      <meta charset="utf-8">

      <style>
        .btn{
          width: 90px;
          height: 32px;
          font-size:13px;
          background-color: #47AFE8;
          color: #fff;
          border: none;
          margin: 0 2px;
          border-radius: 2px;
          cursor:pointer;
          outline:none;
        }
        .txt{
          width: 100px;
          height: 30px;
          font-size:13px;
          background-color: transparent;
          border: 1px solid #47AFE8;
          color: #fff;
          padding:0 8px;
          margin: 0 2px;
          border-radius: 2px;
          outline:none;
        }
        rapi-doc{
          width:100%;
        }
      </style>

      <script type="module" src="https://unpkg.com/rapidoc/dist/rapidoc-min.js"></script>
      <script>
        function setApiKey(){
          const docEl = document.getElementById('thedoc');
          const keyInputEl = document.getElementById('key-val-input');
          docEl.setAttribute('api-key-name','api_key');
          docEl.setAttribute('api-key-location','header');
          docEl.setAttribute('api-key-value',keyInputEl.value);
        }
      </script>
      </head>
      <body>

      <rapi-doc
        spec-url="https://petstore.swagger.io/v2/swagger.json"
        allow-authentication ="false"
      >
        <!--
          below html is custom html that adds an input field and a button in header
          on clicking the button the 'api-key-value' is set to the value in input box
        -->
        <div slot='header' style='display:flex; margin:0 16px;'>
          <input class='txt' id='key' type='text' >
          <button class='btn' onclick='setApiKey()' > Login </button >
        </div>
      </rapi-doc>

      </body>
      </html>
Playground - change attributes using JavaScript
DEMO
